How to Leverage Mosquitto MQTT Broker in PHP Project
One of the most efficient and lightweight protocols for IoT messaging is MQTT. While various programming languages allow for MQTT integration, using it in a PHP project offers unique opportunities for web-based applications. In this article, I will explore how to leverage MQTT in PHP, focusing on using the professional version of the open-source Mosquitto™ MQTT broker for my example testing project. I will cover the necessary libraries, setups, and practical examples to help you build robust and responsive IoT solutions using PHP and Pro Edition for Eclipse Mosquitto.
What is PHP?
Hypertext Preprocessor (PHP) is an open-source scripting language designed specifically for web development. It is usually embedded within HTML files using the markers <?php and ?>. Web servers generally execute it, allowing developers to create dynamic content that can interact with databases, handle form submissions, and perform various other tasks.
PHP is known for its simplicity, ease of use, and compatibility with various web servers and databases. Another possibility for running PHP code is the php-cli tool, which allows you to run PHP code from the command line. The tool is relevant for testing PHP code without relying on a web server. This article will explain both solutions to give a complete overview.
PHP and MQTT: A Practical Example
To demonstrate the usage of MQTT in the PHP project, I will present two distinct methods – both suitable for the goal.
The previous chapter mentions how PHP code typically runs on web servers, sending the resulting HTML code to a web browser. This approach is functional for actions that don’t depend on waiting for unpredictable external events and, therefore, for actions that start and terminate in a fixed amount of time.
An excellent example of this use case is the classical MQTT publishing operation. In this case, the main steps consist of connecting to an MQTT broker, publishing, and finally disconnecting. You can execute these steps in a specific amount of time without waiting for any unpredictable external event.
For this reason, I will use the classical web server approach to demonstrate publishing a message but not subscribing.
The subscription operation requires waiting for a message on a specific topic, which takes an indefinite time and is unsuitable for execution during a classical web client-server transaction. To create a suitable solution for this case, I will use the php-cli tool to run PHP code locally on the command line, keeping the script running indefinitely.
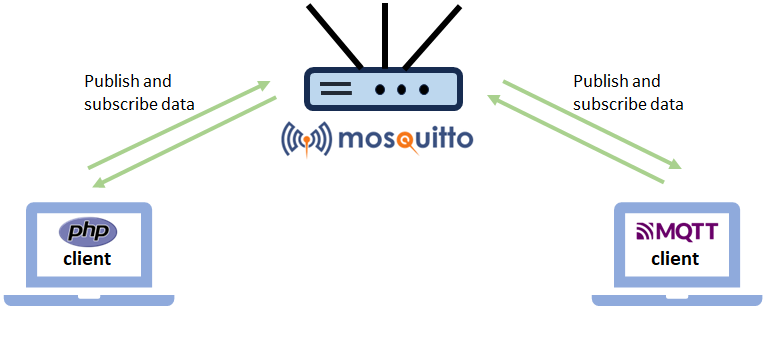
The example project will use the Pro Edition for Eclipse Mosquitto™. The PHP program will act as a client in both publishing and subscribing configurations, and a second client will also be connected to subscribe to or publish MQTT messages for testing.
Sign up for a free 30-day Pro Mosquitto trial license to test MQTT within your PHP project. Gain access to advanced features such as Persistent Queueing, Audit Trails, MQTT High Availability configuration, and more.
Project prerequisites: Getting started with PHP and Pro Mosquitto
To start the project, install all the relevant tools and perform all the necessary configurations.
The project will run on the Ubuntu operating system, for which I will use version 22.04 (Jammy Jellyfish).
Then, install all the necessary tools to run the PHP code.
The first tool to install is the Apache web server, which allows you to test the PHP code within HTML web pages.
To install Apache, open a terminal window and type the following commands:
sudo apt update
sudo apt install apache2
Once the installation is complete, test its correctness by checking if Apache is running.
Next, open a web browser, type “localhost” in the address bar, and press Enter. The following page should appear:
With Apache now running, install PHP and the Apache PHP module. The Apache PHP module is necessary for Apache to run the PHP code embedded into HTML web pages.
You can install both using the following command:
sudo apt install php libapache2-mod-phpOnce it finishes, restart the Apache server with the following command:
sudo systemctl restart apache2.serviceNow, you can write the first PHP file to test the setup’s correctness.
Open a terminal, and using your favorite text editor, create a file with the following content:
<?php
phpnifo();
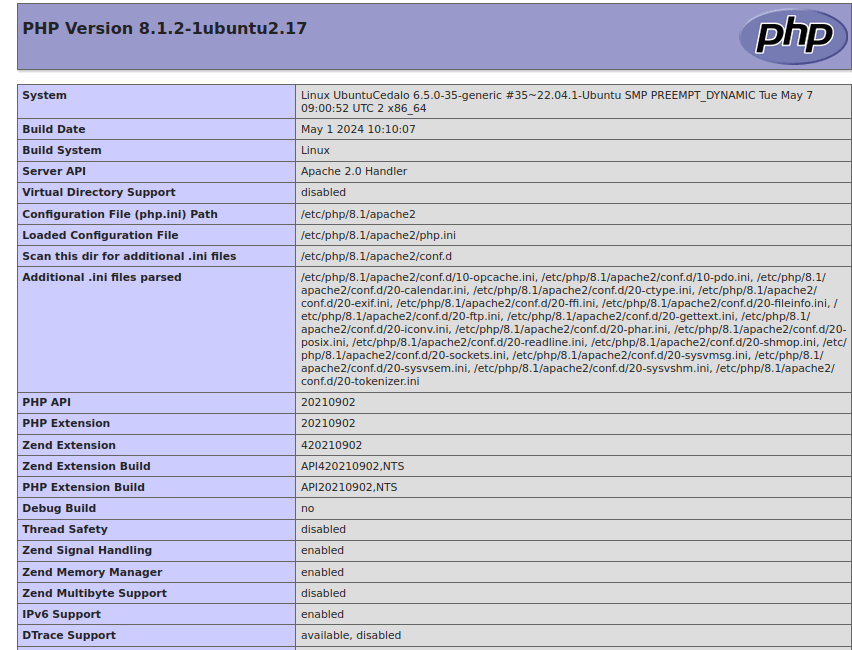
?>This first PHP example calls only the function phpinfo(), which will print some information about the current version of PHP in a formatted table.
Now save the file as test.php in the location /var/www/html, which corresponds to the root path of our Apache server. Every file placed here will be accessible through our browser.
Next, open a web browser and type the address: localhost/test.php.
The following page will appear, demonstrating the correct installation of PHP.
You can now install the php-cli tool for the PHP command-line use case, which allows you to run PHP code from the command line without using a web server.
To install it, use the following command:
sudo apt install php-cliAfter installing PHP, proceed with installing Composer, a well-known PHP package manager, to help download and install the PHP MQTT library.
Here, you can find the official installation setup.
Once Composer is installed, download the php-mqtt library, which enables MQTT integration into PHP. Refer to the official guide for instructions on configuring the php-mqtt library, as well as a tutorial on how to use it. You can install the library with the following command:
composer require php-mqtt/clientAs the last configuration step, you must now consider the MQTT broker.
For this project, I will use the on-premises trial license of Pro Mosquitto. You can request a free 30-day trial here. The trial includes basic MQTT HA configuration and access to advanced features like AuditTrail logging, and more.
Pro Mosquitto will use a Docker-based configuration through Docker Compose. This guide assumes you have already requested an on-premises trial and set up the broker and its web-based user interface called Management Center. You can refer to the official Pro Mosquitto documentation for the installation steps.
Having finished the setup and tool installation, I can now proceed with writing the PHP applications.
Writing the MQTT PHP test application
As mentioned, let’s explore the two PHP use cases: the Apache webpage and the command line PHP script.
I’ll start with the MQTT publish webpage example, for which the code follows:
<!DOCTYPE html>
<html>
<head>
<meta charset="UTF-8">
<title>Publish Test</title>
</head>
<body>

<h1>Pro Mosquitto PHP Publish test page</h1>

<h3>Broker hostname: localhost</h3>
<h3>Publish topic: /test/topic</h3>
<h3>Publish data: Hello World!</h3>


<?php

use PhpMqtt\Client\MQTTClient;
use PhpMqtt\Client\ConnectionSettings;

$brokerAddr  = 'localhost';
$brokerPort  = 1883;
$client   	 = 'test-publisher';
$user    	 = 'PhpClient';
$pass    	 = 'PhpPass';

$mqttClient = new MqttClient($brokerAddr, $brokerPort, $client);
$connSettings = (new ConnectionSettings)
   				 ->setUsername($user)
   				 ->setPassword($pass);

$mqttClient->connect($connSettings);
$mqttClient->publish('/test/topic', 'Hello World!', 0);
$mqttClient->disconnect();

?>

</body>
</html>
The code is pretty straightforward. At the beginning and very end are common HTML tags with some text information embedded into H1 and H3. On the other hand, the PHP code is included between the <?php and ?> tags.
I include the MQTTClient and the ConnectionSettings class with the first two PHP code lines.
The first class allows you to create the PHP MQTT client, while the second class will help define connection parameters like the client’s username and password.
Then create variables to store relevant information, such as the broker’s address or the client’s information.
You can create a new MqttClient object and a new ConnectionSettings object to trigger a connection request through the connect method.
As previously mentioned, the ConnectionSettings object provides the client credentials – however, this is an optional step. If your project does not provide an authentication setup, you can omit the ConnectionSettings and call the connect method without arguments. It is important to note that anonymous connections should be discouraged in production setup.
Publishing happens with the publish method, which takes the topic as arguments, the message, and the quality of service (set to QoS 0).
Finally, you can disconnect from the broker using the disconnect method.
Copy and paste this content into a file named PublishWebPage.php and then place it into the Apache root path /var/www/html mentioned earlier.
Switching to the second example, I’ll use the PHP command line.
For the publishing solution, use the same code as above but remove all the HTML parts. However, keep the part between the <?php and ?> tags and the tags themselves, then save it with the name PublishScript.php.
I can now describe the subscribing PHP code, for which the code follows:
<?php

use PhpMqtt\Client\MQTTClient;
use PhpMqtt\Client\ConnectionSettings;

$brokerAddr  = 'localhost';
$brokerPort  = 1883;
$client   	 = 'test-publisher';
$user    	 = 'PhpClient';
$pass    	 = 'PhpPass';

$mqttClient = new MqttClient($brokerAddr, $brokerPort, $client);

// ConnectionSettings can be skippedif anonymous connection is used.
$connSettings = (new ConnectionSettings)
   				 ->setUsername($user)
   				 ->setPassword($pass);
$mqttClient->connect($connSettings);
$mqttClient->subscribe('/test/topic', function ($topic, $message) {
	printf("Received message: %s\n", $message);
}, 0);

$mqttClient->loop(true);

?>
The code is similar to the code for the publisher, sharing the same MqttClient class and ConnectionSettings for specifying client information.
The difference here is that I’ll use the subscribe method.
The subscribe method takes the topic as arguments and a callback function, which is called when a published message is received on the specific topic.
More importantly, using the loop method at the very end enables reading, parsing, and handling messages from the broker – keeping the script running indefinitely.
Finally, copy the code above into a new file named SubscribeScript.php.
With the examples complete, the next chapter will demonstrate how to test them.
Test the PHP MQTT setup
First, you must run the Pro Mosquitto broker to test the PHP code examples. The official Mosquitto Docker guide provides all the steps to perform.
Once the Pro Mosquitto broker starts, configure the correct client credentials through the Management Center for Mosquitto. For this purpose, create a new client named PhpClient with the password PhpPass, following the official client documentation.
Now, create a subscriber client using the mosquitto_sub utility with the following terminal command:
mosquitto_sub -h localhost -t /test/topic -u PhpClient -P PhpPassThe subscriber will subscribe to the Pro Mosquitto broker over the topic /test/topic, using the client PhpClient.
Finally, test the previously created PHP web page. Open the browser and type the following address:
localhost/PublishWebPage.phpThe following page appears:
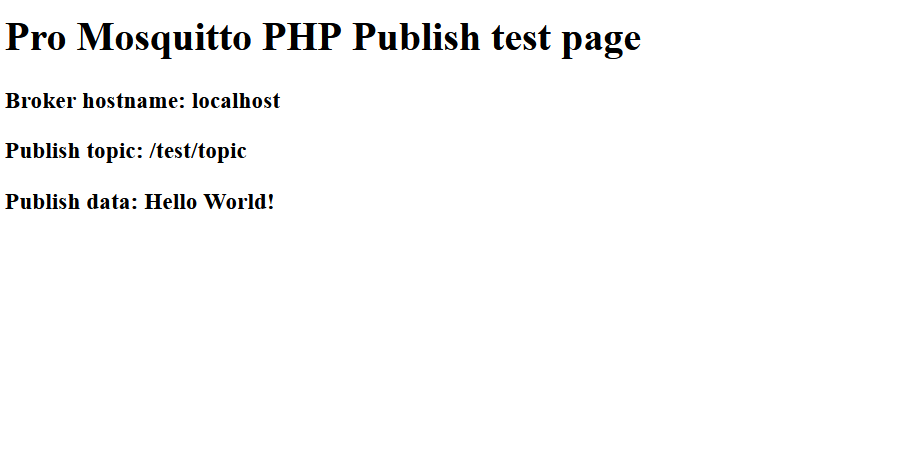
The page shows the HTML code content, and there is no error.
Look at the output of the mosquitto_sub utility in the Terminal to see if the published message was received:

You can now proceed with testing the other two scripts.
Open a Terminal and start the PHP publisher script using the following command:
php PublishScript.phpThe subscriber will receive another message from the PHP publisher script this time.

Finally, test the last example: the subscriber script.
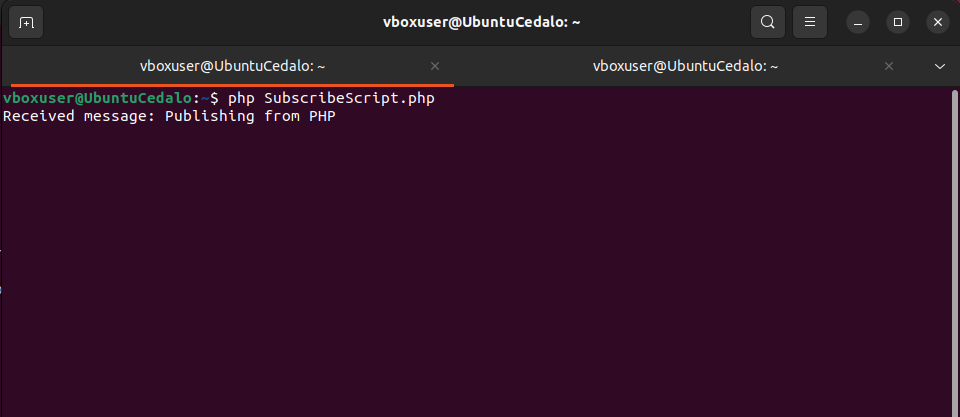
The first step will consist of running the subscriber PHP script using the following command:
php SubscribeScript.phpThe script is now running and waiting for incoming published messages.
Use the mosquitto_pub utility to publish a specific message using the following command:
mosquitto_pub -h localhost -t /test/topic -u PhpClient -P PhpPass -m ‘Publishing from PHP’The following will be printed from the PHP script, proving the correct functioning of the subscriber:
Conclusion
In conclusion, integrating MQTT with PHP offers a solid tool for supporting real-time communication features in web applications. This article demonstrates how easy and efficient it is to integrate MQTT into PHP code, either using the classical webpage-based approach or the PHP command line.
Following all the steps in the article will enable you to integrate MQTT into your next PHP-based solution effortlessly.
If you found this blog helpful, consider experimenting with MQTT and PHP using the Pro Mosquitto trial.
About the author
Matteo Trovò is a seasoned embedded software engineer with extensive expertise in cybersecurity, computer networks, and data protocols, including MQTT. He is currently employed as a Senior Embedded Software Engineer in the automotive industry in Germany.
After completing a degree in Software Engineering, Matteo gained valuable experience working for various companies, honing his skills in practical settings. During this time, he also supported and contributed to a startup developing MQTT interconnected smart switches for home automation. As the software development lead, Matteo delved deep into MQTT, writing MQTT client software and managing MQTT device networks.

Subscribe for monthly updates